Monday, March 20, 2017

Putting an Image Into Text

Today was another successful attempt with Photoshop. We see so many graphics that include text with an image. It is actually a lot easier than I thought it would be and played around a little extra with different types of images and effects with it. So to start, as you can see below I added text for an upcoming date that we wanted in the graphic. Since it's almost 2 months until the Boston Shootout for Soldiers event, it seemed like the perfect graphic to make.
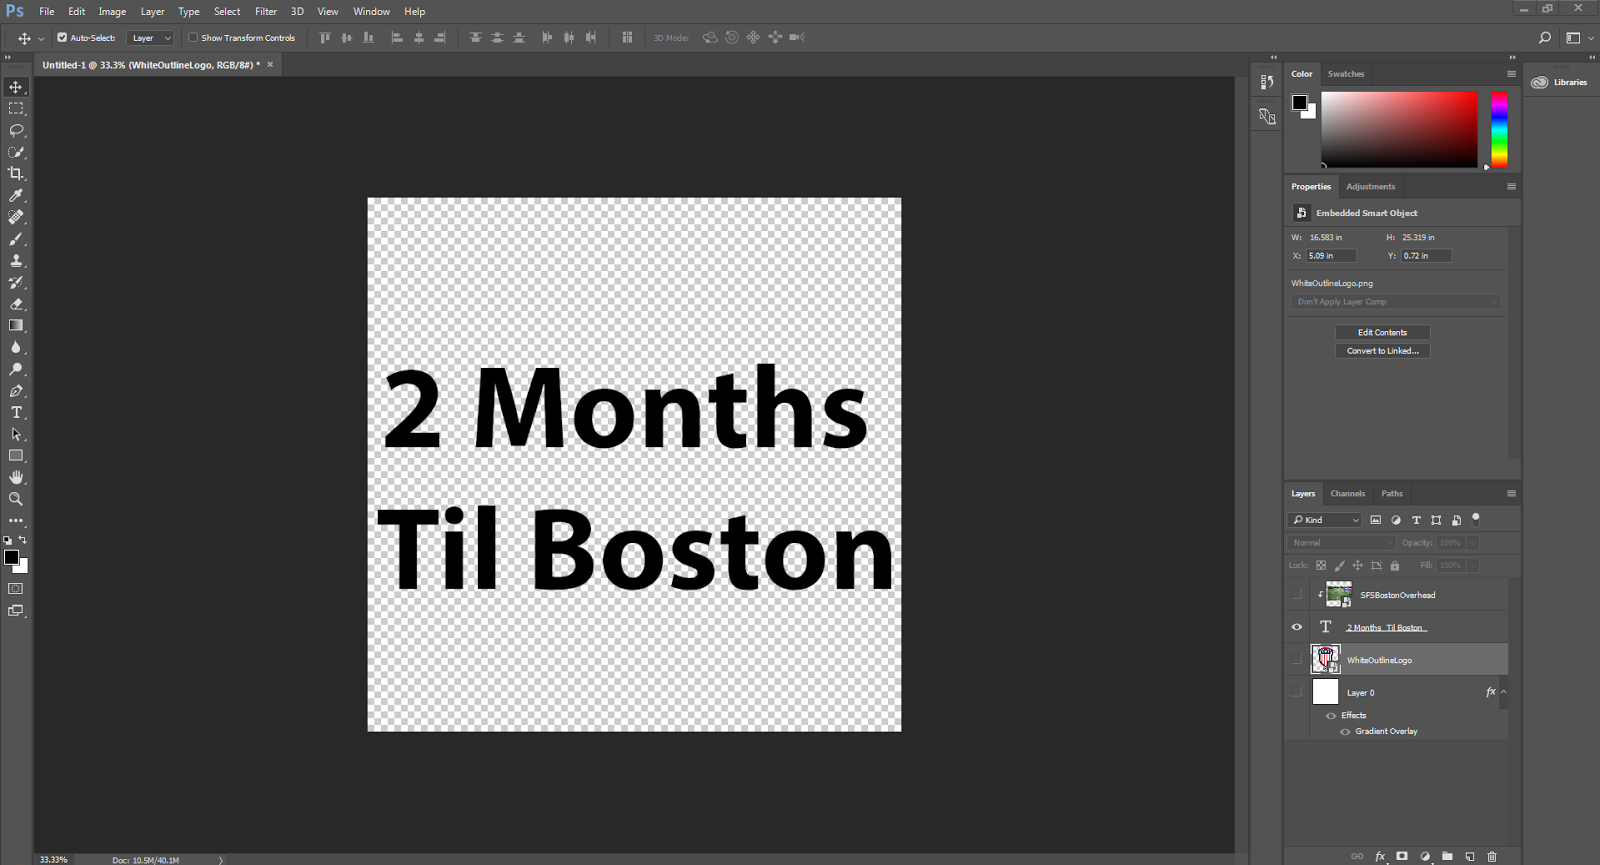
So after adding the text and then the image, all you have to do is right click on the layer in the bottom right for your image and click "create clipping mask" and it seamlessly puts the image into the text you already placed on the picture. 

Then I just added a background image and a background gradient to fill the rest of the picture up and to me it looks great! There may be a lot going on but making the graphic was more for practice than use. The final product is below!


Monday, March 13, 2017

Layering Images

My knowledge with Photoshop is continuing to expand! Today I figured out how to layer an image by creating a duplicate layer of the part of the image I wanted to be in front of my other image. This is especially useful because it helps when creating graphics to layer images and cut images out. So to start the project, I had an initial idea of putting a large Shootout for Soldiers logo behind an image to see how it looked. The initial image I cut out looked like this..


Next, I took that image and used the quick selection tool to select everyone on the bottom half of the picture and the flag sticking up to be able to place the logo behind it. As I am still learning, the quick selection tool is not one of my strong suits. So I had to use the quick selection tool to delete as much as I could and then used the eraser tool to delete the excess background I didn't want. But then the image didn't work the way I wanted it and I couldn't cut as much as I wanted so I changed gears and used a different, simpler image.


So the image I used had one person playing a drum with a very cool background behind it. When I saw it, the picture seemed like the perfect starting picture for me. Here it is below...


This picture was great because it was simple, and I wanted to find the perfect spot to place my PNG logo behind. I started behind the arm and the drum stick but again, it didn't look clean as the quick selection tool wasn't really working for me. So I decided to cut out the head and torso of the man in the image to place the logo behind him. And I think it turned out incredible. Two months into learning Photoshop, I may not be an expert, or great for that matter, but I have definitely improved.